Getting Started
This guide should get you started with your first Belphanior home network. Directions assume you are using a Linux-based OS with bash as your shell; you may modify them to your toolchain of choice.Preparation
On each machine running a butler or servant, you will need:
- An installation of Ruby and the Ruby Gems package manager.
- An installation of git.
- An installation of bundler.
Some servants may require additional dependencies.
Installing the Butler
A Belphanior home network requires at least one Butler, which serves as the command-and-control system and the user interface for the network. The canonical butler is a Ruby on Rails app available from GitHub.
To install:
cd belphanior_butler
bundle install
rake db:migrate
To run:
script/rails server --environment=development --port=3000
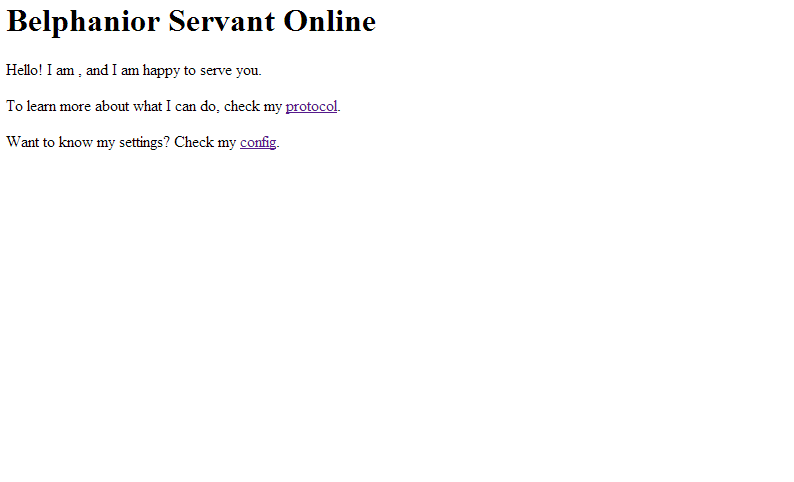
Navigate to localhost:3000 in your browser and you should see a screen like this:

Congratulations! Your Butler is online!
Installing a Servant
Servants are HTTP servers that perform specific functions in your home network. They are separate from the Butler so that they may be run on machines with the relevant hardware (for example, speech synthesys servants need a computer with attached speakers; light control servants need access to the light control hardware, etc.). Several servants are already available; a list of them can be found here.
We'll set up a basic speech servant to get a view of the process.
To install:
Each servant requires a servant_config file, which specifies (at minimum) the hostname and port on which the servant will listen for incoming connections. The servant_config file is found in the current working directory when a servant is run, or the path to it is specified by the environment variable BELPHANIOR_CONFIG_FILE.
Copy the following into a file named "servant_config" in your current working directory:
Now, you should be able to test-run the servant by executing the binary directly (mine is installed at Once the servant is running, navigate to http://localhost:3335 in your browser and you should see the following:
If this screen is visible, your servant is ready to receive commands.
Connecting a Servant to a Butler
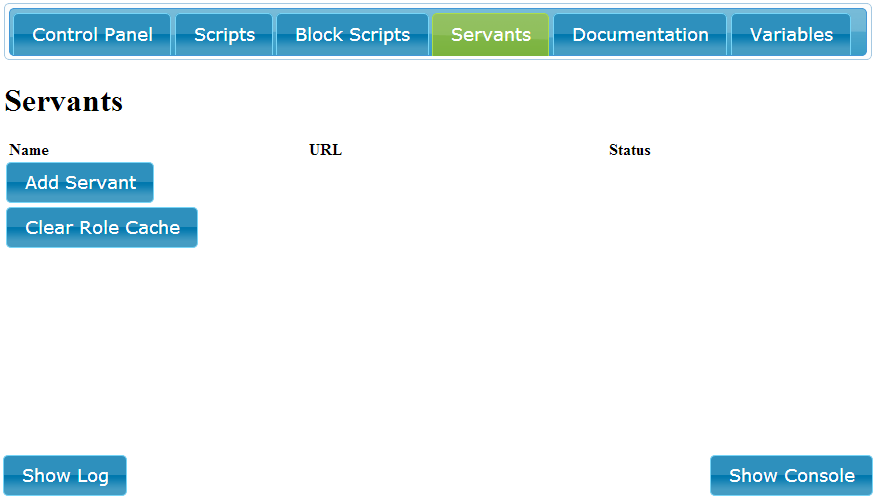
Once you have a servant running, you can register it with the Butler to control it. To do so, return to the Butler's page in your browser and click on the "Servants" tab. It should look like the following:
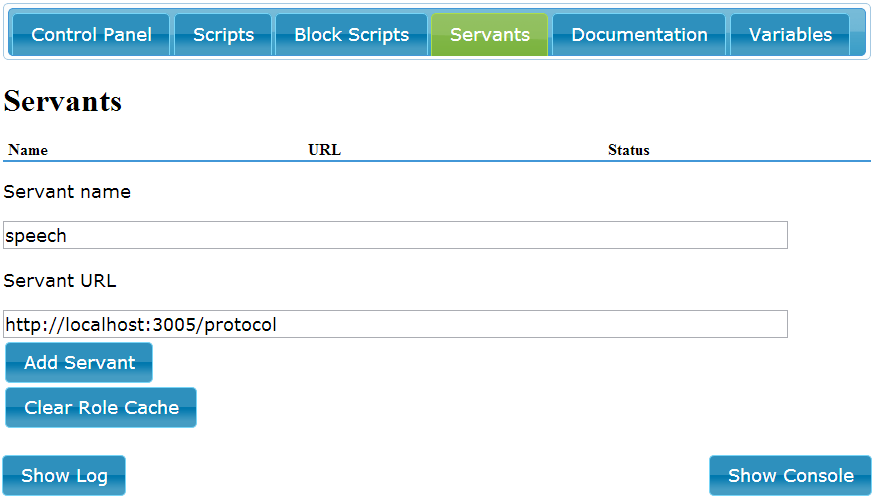
Click on "Add Servant" to register a new servant. For "Servant name," enter "speech". For "Servant URL," enter "http://localhost:3005/protocol".
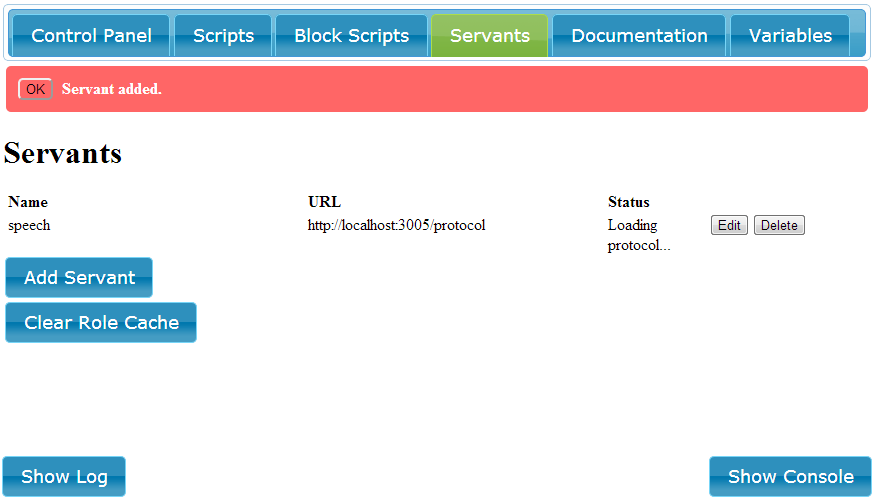
Click "Add Servant" (to the right) to register the servant. Within a few seconds, the status indicator should transition from "Loading protocol..." to "Ready," indicating that the servant is fully loaded (reload the page if the status doesn't change after a minute).
Your First Control Script
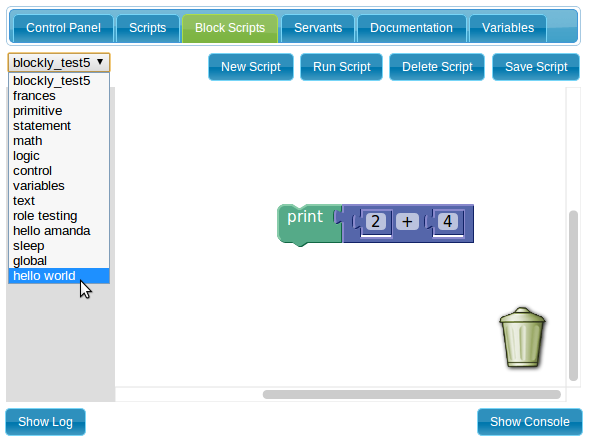
Scripts tie the behavior of multiple servants together. They allow for behaviors to be triggered by a button on the "Control Panel" tab or by other servants or butlers via the commandable role.
Scripts can be written in Ruby or Blockly. For the purposes of this example, we'll use Blockly.
To start, click on "New Script," and in the dialog box that appears, name the script "hello world." Select "hello world" from the script picker in the top-left corner.
Now, we will make a simple one-command Blockly script. The block category selector on the left side of the editor includes a "+ output" category, which is the name of the role the speech server supports. Select that category, and you'll find one command block available; "output." Drag that command block into the editing panel. You need give the command something to send for output, so select the "string" category from the block category selector and pull a string literal out (it looks like quotation marks around an empty space), placing it so it is attached to the "say" command block in the editor. Click in the square between the quotation marks, and type "Hello, world!" to give the servant something to say.
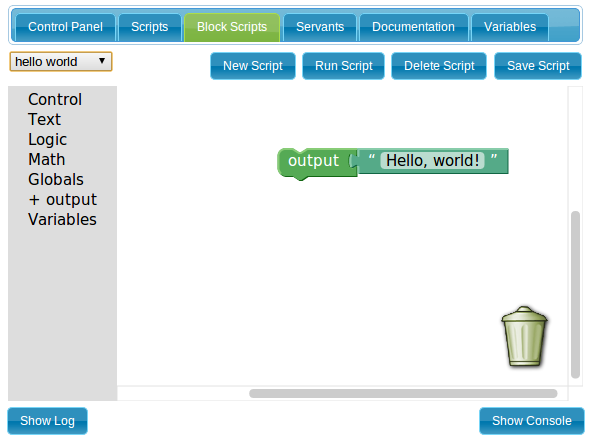
This script is ready to try out. Click the "Save Script" button. Then click the "Run Script" button and, after a few moments, you should hear the "Hello, world!" greeting come from your computer speakers. If you don't, click "Show Log" to investigate the results of the script's run.